


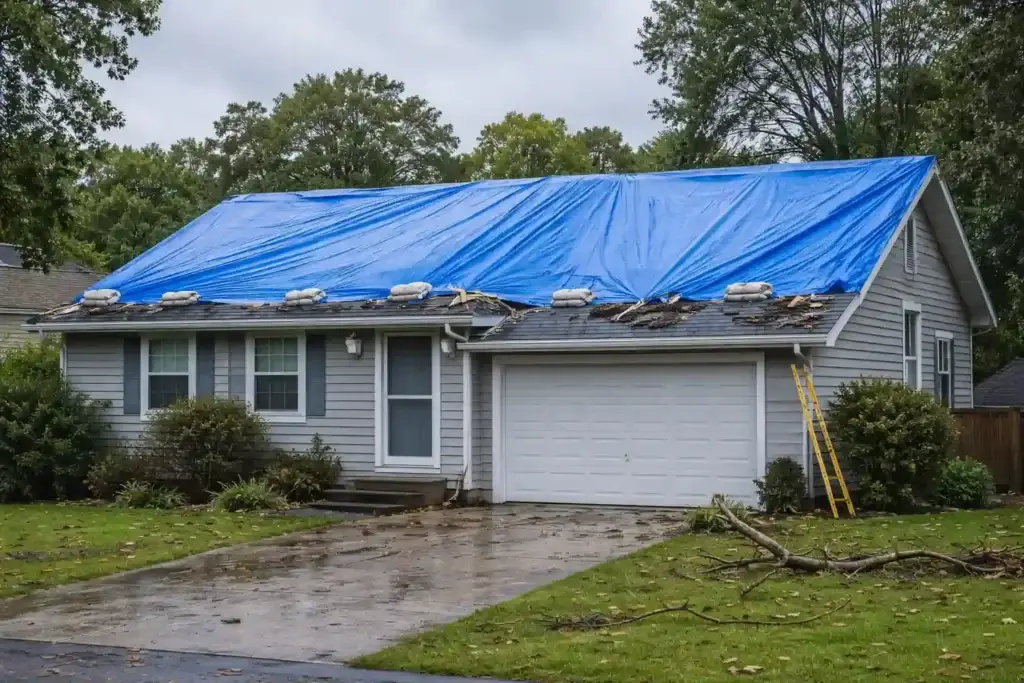
What It Is, When You Need It, and How to Do It Right
- Available 8AM – 8PM
- Fast Response in East Tennessee
- Free Emergency Service
A tree branch comes down on your roof at 11 p.m. A storm tears off three rows of shingles while the next rain band is already on the radar. You walk into your bedroom and find the ceiling soaked through. These situations have one thing in common — you can’t wait a week for a scheduled repair appointment. You need your home protected right now.
That’s exactly what roof tarping is for. It’s not glamorous, and it’s not a fix. But done correctly, it can be the difference between a manageable repair and a complete interior disaster. Done wrong — or not done at all — a single night of rain through an open roof can cause tens of thousands of dollars in water damage.
This guide covers everything you need to know about emergency roof tarping: when it’s necessary, how it works, what separates a proper tarp job from a sloppy one, and the mistakes that make things worse. And if you’d rather have a professional handle it — which is usually the smarter call — we offer free emergency tarping for homeowners in East Tennessee who need immediate protection.
What Roof Tarping Actually Does
A roof tarp is a heavy-duty polyethylene sheet secured over a damaged section of roof to block rain, debris, and wind from entering the home. It’s a temporary protective measure — not a repair — designed to hold things stable until proper work can be completed.
Think of it as a pressure bandage. It doesn’t heal anything, but it stops the bleeding while you figure out the next step. In roofing terms, it keeps water out of your attic, insulation, walls, and ceilings while a full damage assessment and repair get scheduled.
A well-installed tarp can hold up for several weeks — sometimes longer — depending on the weather conditions and how it was secured. A poorly installed one can fail the same night, or worse, get lifted by wind and cause additional damage to the roof surface underneath.
When Does a Roof Actually Need to Be Tarped?
Not every roof problem calls for a tarp. But certain situations make it essential. Here’s when to take it seriously:
After a Major Storm
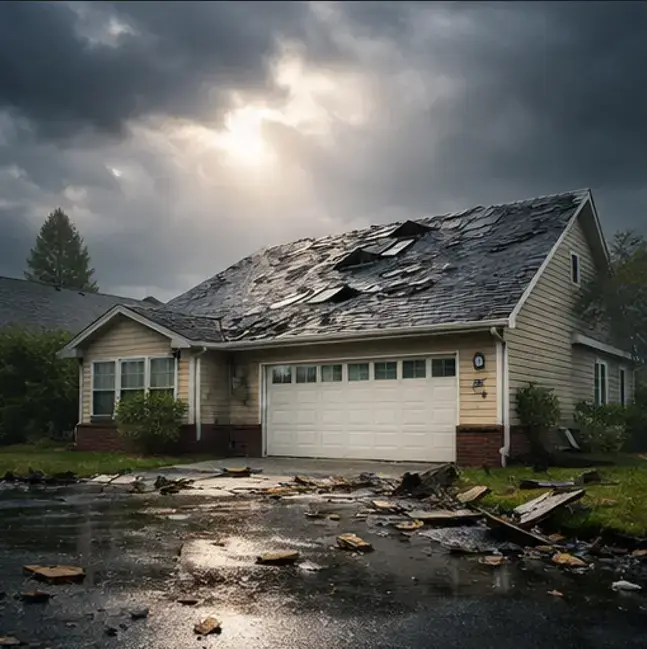
High winds, hail, and falling trees are the most common causes of sudden, large-scale roof damage. If a storm has blown off shingles, cracked the decking, or left a visible hole, rain is already finding its way in — or it will the next time the sky opens up. East
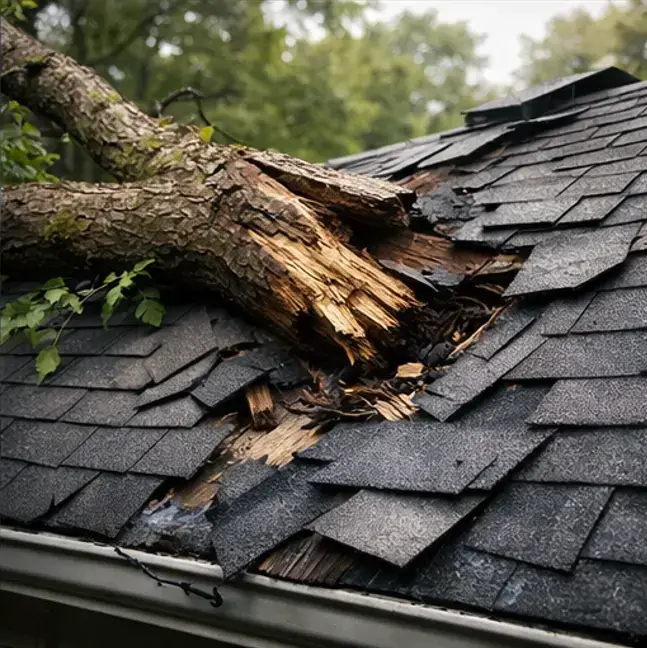
When a Tree or Branch Has Made Contact
Impact damage from trees is unpredictable. A limb might punch cleanly through the decking, or it might crack the structure in multiple places without creating an obvious hole. Either way, the roof is compromised. Until a professional can assess the full extent of the damage, a tarp is the right call.
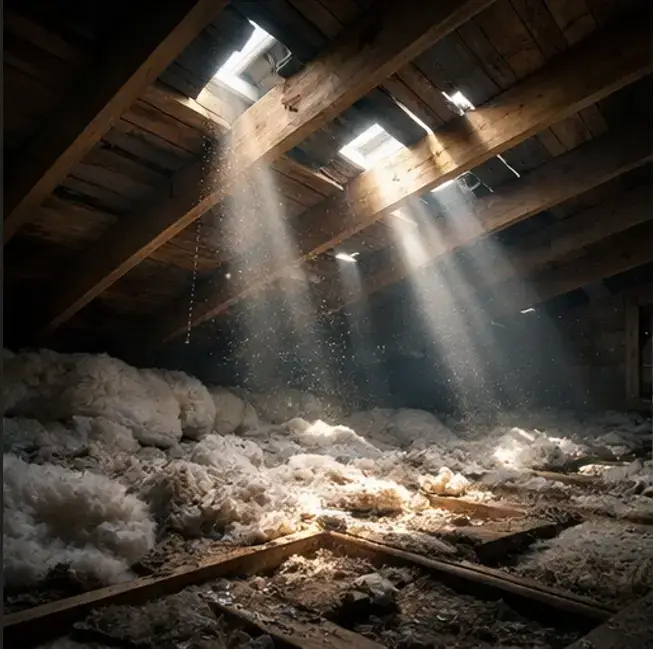
When You Can See Daylight or Feel Airflow From the Attic
If you can see light coming through from inside the attic, or if you feel outside air moving through a space that should be sealed, there’s an opening — and it needs to be covered. Water will follow the same path the air is taking.
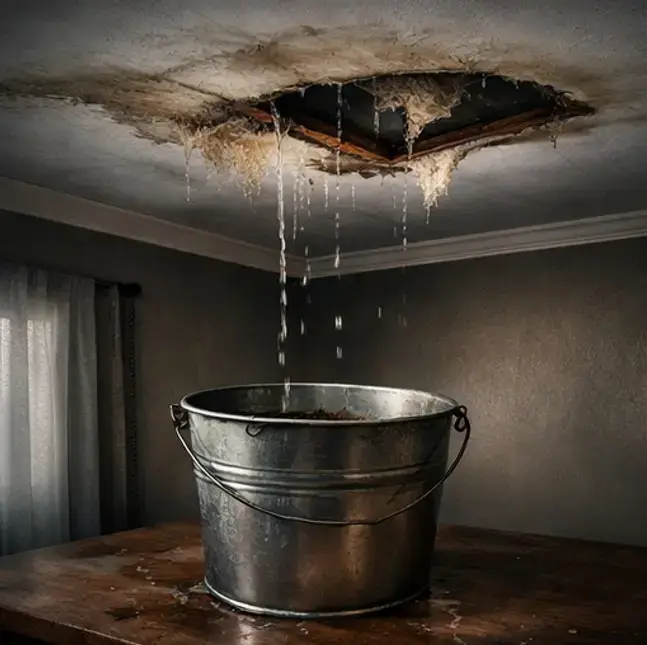
When You Can See Daylight or Feel Airflow From the Attic
If you can see light coming through from inside the attic, or if you feel outside air moving through a space that should be sealed, there’s an opening — and it needs to be covered. Water will follow the same path the air is taking.
If any of these sound like your situation right now, don’t wait it out. Our 24-hour emergency team covers East Tennessee and responds fast. Call 865-851-5002 anytime.
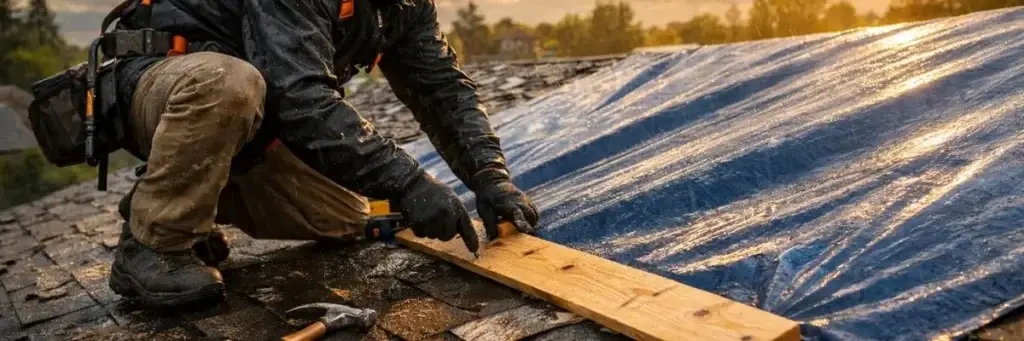
How a Professional Roof Tarp Job Works
There’s a big difference between throwing a tarp over a damaged area and properly securing one. Here’s what a professional installation actually involves — and why it matters.
- Step 1: Safety Assessment Before Anyone Goes Up — Before anything touches the roof, a professional checks whether it’s safe to access. After storm damage, roof decking can be structurally compromised — meaning it may not support weight the way it normally would. Wet surfaces are also extremely slippery. A professional crew knows how to evaluate and navigate these conditions safely. This is one of the clearest reasons to call rather than climb.
- Step 2: Clearing Debris From the Damaged Area — Broken branches, loose shingles, and displaced materials need to be cleared before the tarp goes down. Laying a tarp over jagged debris creates pressure points that can tear the tarp and leave gaps — which defeats the whole purpose.
- Step 3: Sizing the Tarp Correctly — A tarp needs to cover the entire damaged section and extend well past it — ideally several feet on each side, and over the ridge at the top so water can’t run under the upper edge. Undersized tarps are one of the most common failure points in DIY attempts. Water finds the edges.
- Step 4: Securing Without Causing New Damage — This is where professional technique really matters. Tarps are typically anchored using wooden boards (called cap boards or baton boards) that are screwed or nailed along the edges. The boards hold the tarp flat, distribute tension, and prevent wind from getting underneath and lifting the covering.
- Step 5: Checking the Edges and Drainage — Water needs somewhere to go. A properly installed tarp is positioned so runoff flows off the roof naturally — not pooling along an edge or backing up under an adjacent surface. This is especially important near gutters, valleys, and low-slope sections where water tends to collect.
DIY Roof Tarping: What You Need to Know
We’ll be straight with you: getting on a damaged roof after a storm is genuinely risky, and we’d rather you call us. But if a professional isn’t immediately available and water is actively entering your home, here’s how to approach it as safely as possible.
What You’ll Need
- Heavy-duty polyethylene tarp — minimum 6 mil thickness, ideally 10–12 mil for durability
- Wooden boards (2x4s work well) to anchor the edges
- Roofing nails or screws
- A hammer or drill
- Safety harness and non-slip footwear if available
- A second person — never go on a roof alone
Key Rules If You Go Up
- Wait until rain has stopped and the surface has had time to dry slightly
- Assess the roof from the ground first — look for visible soft spots, missing sections, or sagging
- Stay on solid areas of the roof — avoid walking directly on the damaged section
- Work from the undamaged side and extend the tarp over the problem area rather than starting in the middle of it
- Secure the upslope edge first, then work downslope
- Never work on a roof alone, in the dark, or in wet conditions
If at any point the roof feels soft, unstable, or the damage appears larger than expected, come down and call a professional. No tarp is worth a fall. Our emergency response team handles situations exactly like this every week.
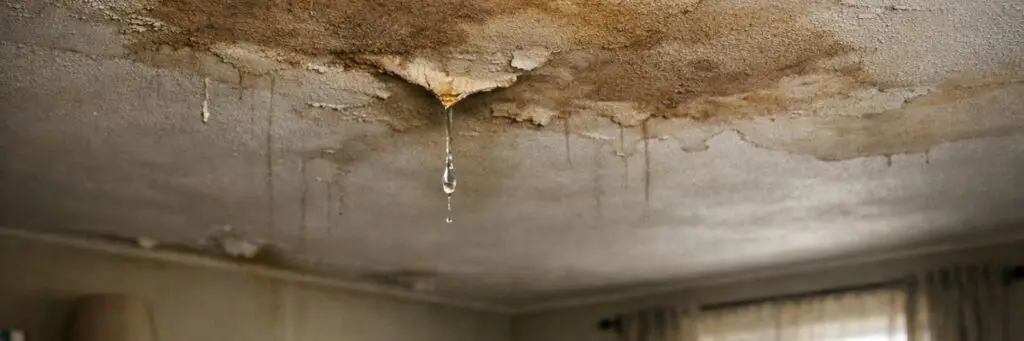
Mistakes That Make Emergency Tarping Fail
A tarp job that fails can actually make things worse — both by letting more water in and by lulling a homeowner into a false sense of security. Here are the most common errors:
- Using a Tarp That's Too Small — This is the most frequent mistake. Homeowners grab whatever tarp is in the garage — often a lightweight, undersized one — and cover only the most visible damage. Water gets under the edges on the first rain. The tarp needs to extend past the damage on all sides, and then some
- Not Securing the Ridge Edge — If the tarp doesn’t go over the peak of the roof, water running down the upper slope will go directly under it. The top edge must be secured over the ridge or wrapped and anchored on the opposite side of the roof.
- Using Adhesive Tape as the Primary Fastener — Tape is not a roofing fastener. It might hold for a day in dry weather. Add humidity, temperature changes, or any wind, and it peels. Boards and nails are the correct anchoring method.
- Treating the Tarp as a Permanent Solution — A tarp is a bridge — nothing more. Some homeowners install one and then delay getting the actual repair done for months, especially heading into winter. UV exposure and temperature changes degrade even heavy-duty tarps. By spring, what looked like a solid cover has developed cracks and gaps. Schedule the real repair while the tarp is fresh. If cost is a concern, our financial assistance options can help make that conversation easier.
- Not Checking the Attic After Tarping — Even after a tarp is in place, moisture may already be inside the structure. Wet insulation, damp rafters, and pooled water on the attic floor all need to be addressed. Go in, assess, and dry out what you can. Left alone, that moisture becomes a mold problem within days — and mold doesn’t stop at the attic.
Not sure how much damage you’re actually dealing with? Start with a thorough roof condition assessment — it gives you a clear baseline so there are no surprises when repair estimates come in.
What Comes After the Tarp
Once the immediate situation is under control and your home is protected, the next step is figuring out the full scope of the damage and what repair looks like. Here’s how that typically unfolds:
A professional inspection to assess all damage — not just what caused the emergency, but secondary damage from water intrusion
A written estimate outlining the scope of work and cost — we provide free, no-pressure estimates so you know exactly where things stand
An insurance claim if the damage is storm-related — document everything with photos before any repair begins
Scheduling the repair before the tarp degrades — most quality tarps have a practical lifespan of 30–90 days outdoors
Depending on what the inspection reveals, you may be looking at targeted roof repair on the affected section, or in cases where the roof is older and the damage is extensive, a full replacement may actually be the more cost-effective path long-term. That’s a conversation worth having with honest numbers — not something to guess at.
Does Homeowner’s Insurance Cover Emergency Tarping?
In many cases, yes — especially when the damage was caused by a sudden event like a storm, falling tree, or hail. Most standard homeowner’s insurance policies include coverage for emergency protective measures taken to prevent further damage. That typically includes roof tarping.
The key is documentation. Take photos and video of the damage before the tarp goes on, and keep any receipts or records of the work performed. If a professional handled the tarping, ask for written documentation of what was done and when.
Contact your insurance company as soon as the immediate situation is handled. Let them know what happened, what protective measures were taken, and that you’re scheduling a full inspection. Most adjusters are easier to work with when you’ve acted quickly and documented everything well.
Why Professional Tarping Is Worth the Call
We’ve covered what DIY tarping involves, and if you have no other option, doing it yourself is better than doing nothing. But the honest recommendation is to call a professional — for a few clear reasons.
Safety: Damaged roofs are unstable. A professional crew knows how to assess and navigate the risks that aren’t visible from the ground
Effectiveness: A properly installed professional tarp is anchored to hold through sustained wind and rain — not just light weather
Continuity: The same team that tarps your roof can assess the damage, give you an accurate repair estimate, and carry the job through to completion — no handoffs, no miscommunication
Documentation: Professional tarping comes with documentation useful for insurance purposes
At Daniel Hood Roofing Systems, we treat emergency calls as exactly that — emergencies. We show up fast, we tarp properly, and we give you a straight assessment of what comes next without pressure. Learn more about our team and how we work if you want to know who you’d be calling.
Contact us for a free inspection today
Don’t Wait Out the Storm Without Protection
Emergency roof tarping exists because some damage can’t wait for a regular appointment. A tarp installed correctly and promptly can protect everything inside your home from what would otherwise be a costly water damage event. A tarp installed poorly — or not at all — lets the damage compound hour by hour.
If your roof has been damaged and rain is in the forecast, now is the time to act. We offer free emergency tarping to East Tennessee homeowners who need immediate protection. No runaround, no delay — just fast, professional help when it counts.
Call us directly at 865-851-5002 or reach out through our website. We’re available around the clock because storms don’t follow business hours.
Get your free, no-obligation roof inspection
Fastest service
Call 865-851-5002Talk to our scheduler and book your free inspection in one call. Monday – Sunday, 8 AM – 8 PM.
- Free, no-obligation inspection
- A written, itemized estimate before any work begins
- Licensed and insured, family owned for 15+ years
Prefer we call you?
Request your free, no-obligation estimate and we will call to schedule.